

How To Repair Edge Banding On Furniture
I'thousand glad you're joining me for "this-is-my-1st time-ever-trying-this-stuff" blog mail.
Luckily, after an enormous spicy Thai meal, hot chocolate, and Tim Horton donuts (this added-up to some bad indigestion), G-M-M still took the time to show me how to apply Edge Banding to furniture …just ane more reason why I love him!
I had no idea what the proper name for this stuff was until yesterday. If you lot've never heard of Border Banding it's literally a ring of material which is made out of wood, forest veneer, acrylic, melamine or PCV.
Edge Banding is used to encompass ugly edges; for example exposed plywood, MDF or particle lath.
By adhering the Edge Banding to an exposed border, it gives the illusion of a solid textile. For furniture decor and repair, it comes in cherry, oak, bubinga, ash, walnut and maple to name a few. If applied properly, these veneer edges look authentic when re-staining or repairing a stained piece. With an exact match, information technology volition wait similar a quality piece of solid wood furniture. For a painted stop, any sand-able edge banding will work.

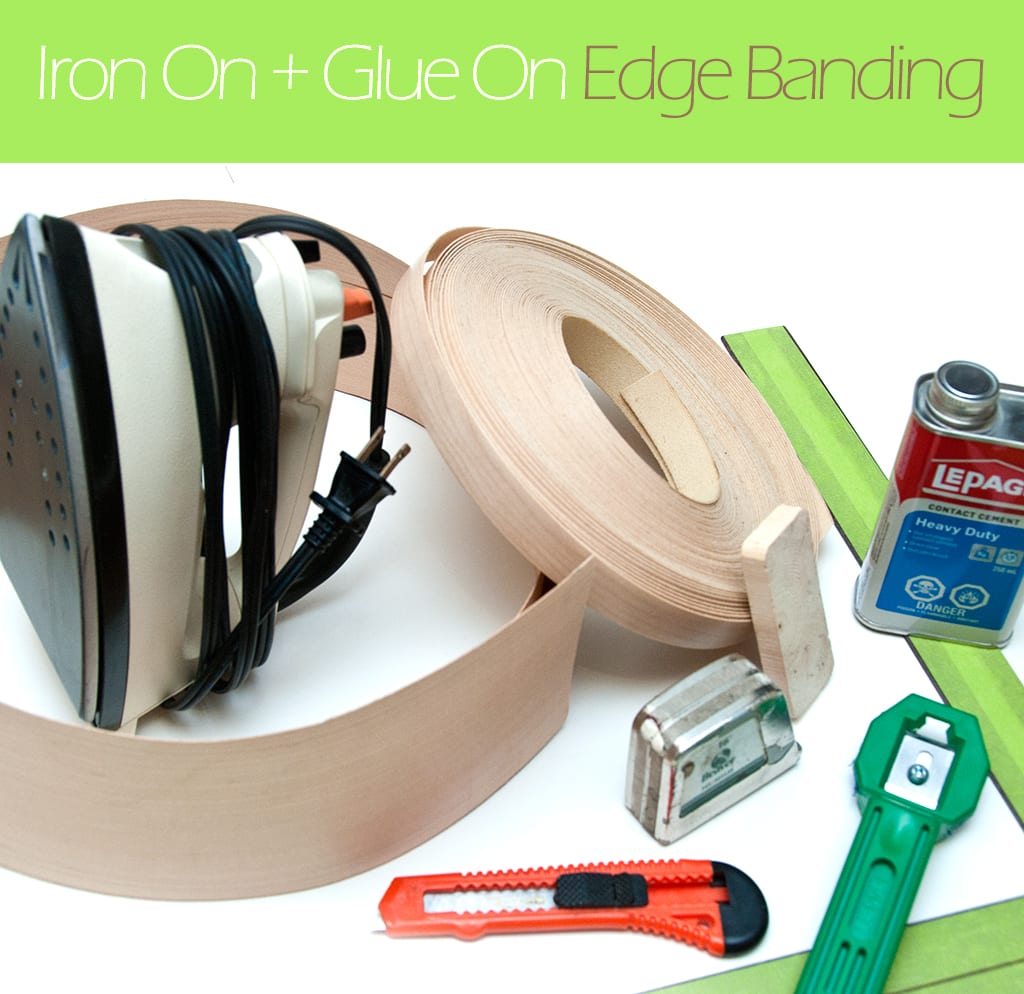
Supplies I Used
Edge Banding | Straight Edge Ruler | Apparel Fe or Contact Cement Glue | Measuring Tape | Verbal-o-Knife | Sand Paper and Sand Block | Edge Trimmer
How to Remove Onetime Edge Banding
1. I removed the old edging banding material with a putty knife; then wiped downward and slightly sanded the surface. This step provides a clean surface so the new edge can be applied smoothly.
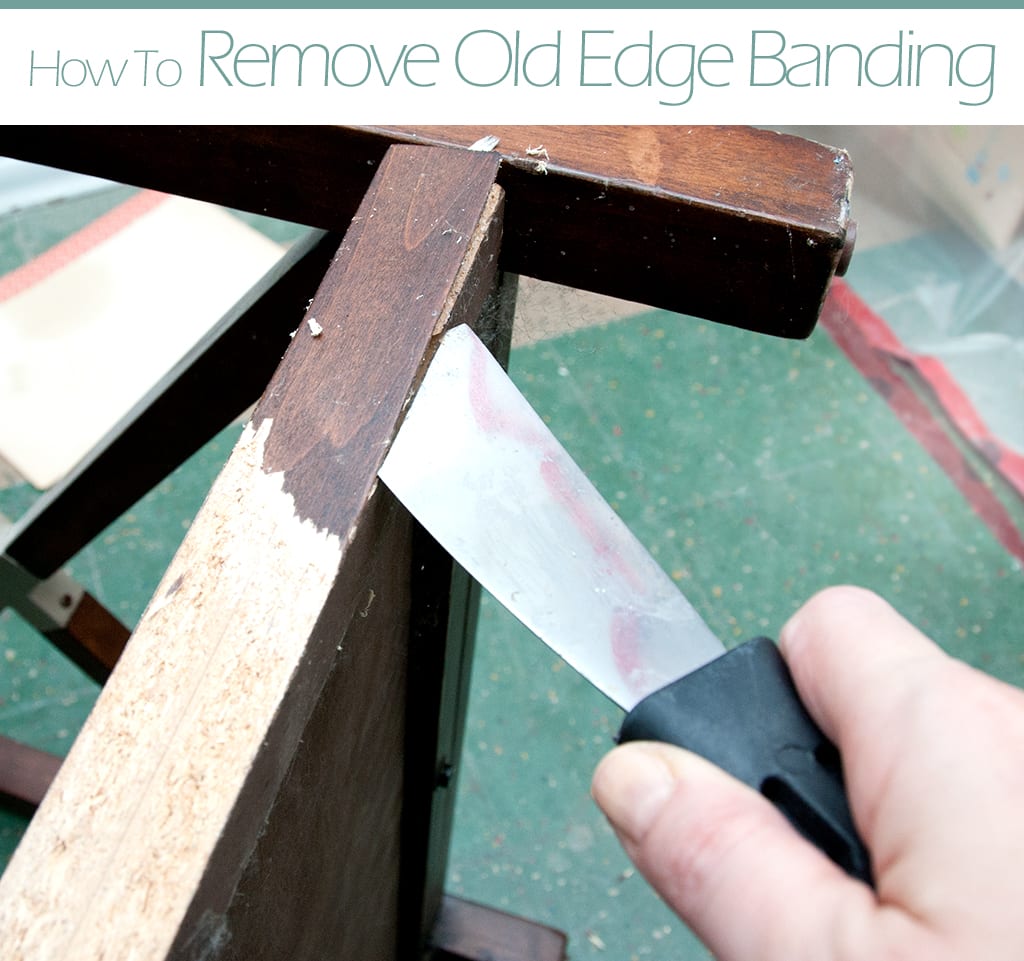
If you're having difficulty removing the onetime Edging, you can soften it upwards by applying heat from a blow dryer or a wear fe. Using the corner of a putty knife to lift the edge also works really well.
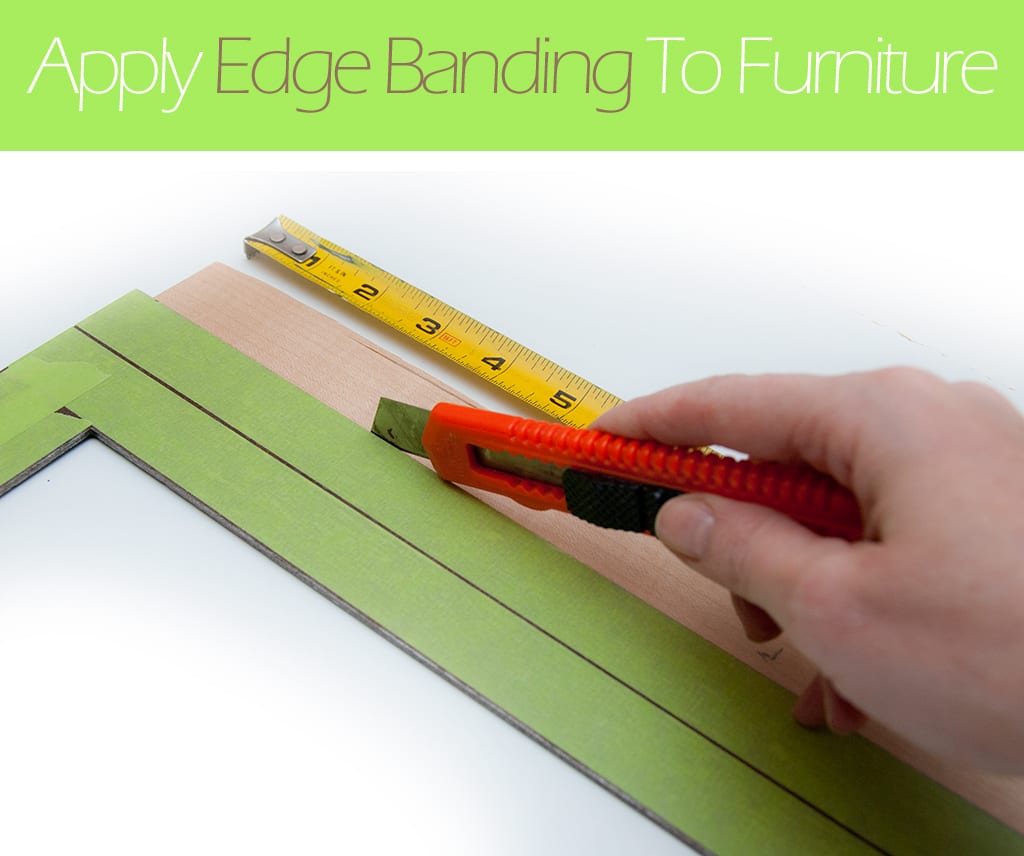
How to Employ Edge Banding
2. Edge banding comes in dissimilar materials and widths. You can choose it with an adhesive bankroll that'south activated by the estrus of a article of clothing iron (Atomic number 26 ON) or plain Edge Banding which you apply with a heavy duty agglutinative such equally contact cement (Mucilage ON). For my adjourn-shopped designer tabular array, I used a sand-able plain edge banding which requires gluing. Love this stuff because it comes in a thick ringlet that'south unproblematic to cut to size and information technology can easily be stained or painted!
I measured the length and width I needed to supplant the old veneer banding. When cutting the new border material, I made sure to add together an additional i/4 inch to my exact measurement. This boosted 1/8 of an inch on either side provides a comfort zone when gluing it on. Very helpful because it relieved some stress when gluing it on… I didn't feel it needed to be glued "perfectly". It also helped me when trimming the backlog banding flush with the article of furniture.
3. To glue on my edge banding, I fabricated sure both the tables raw edge and banding where TOTALLY covered with a layer of this stinky stuff. When using contact cement or any other heavy duty adhesive, information technology's a good idea to read the directions, habiliment gloves, and work in a ventilated area. Caution: Getting high off the fumes may cause fingers to be permanently Siamese twined together.
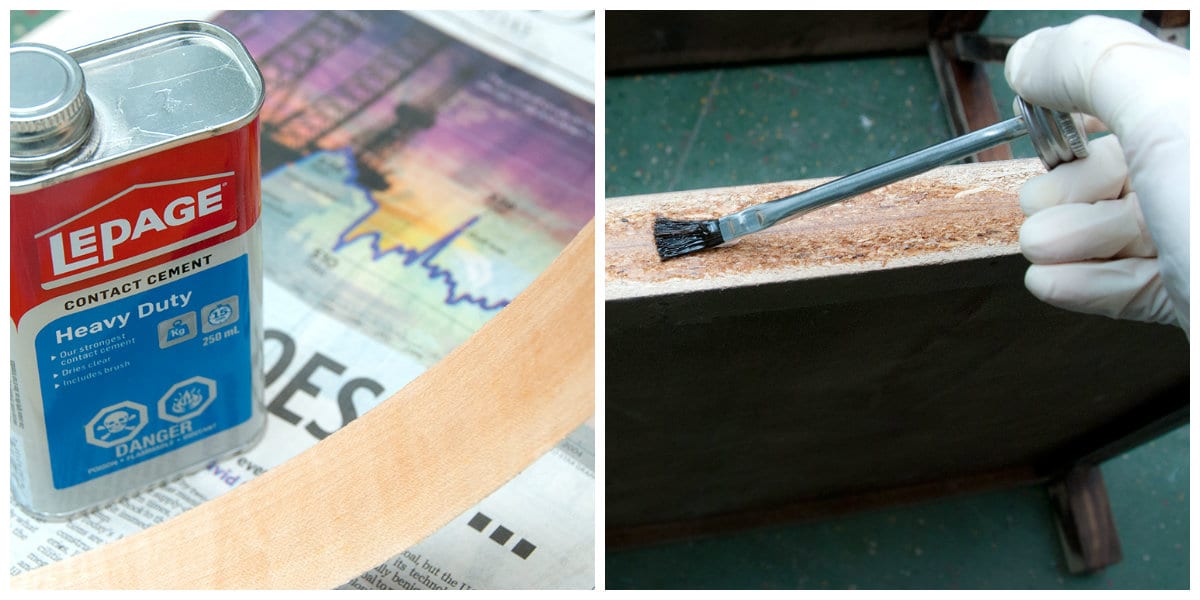
I starting adhering at one stop and made sure my starting point was aligned correctly. Pressing it down, I slowly followed through to the other end. All my fingers are still independent of each other.
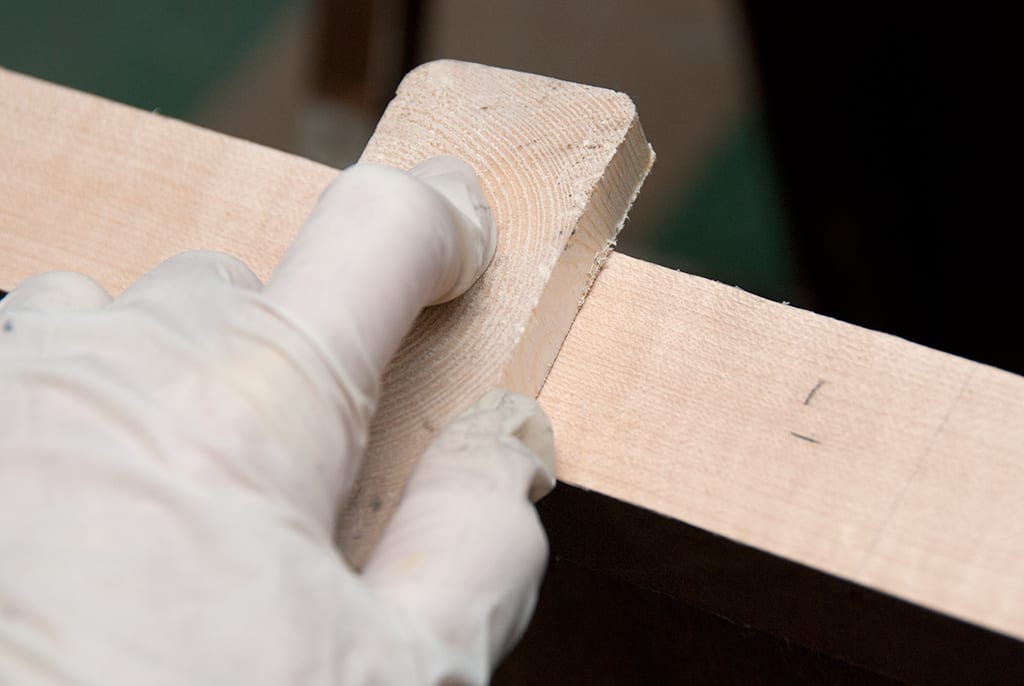
iv. In one case it was in place, I used a wood block to press downwards firmly. A roller would besides work slap-up. This is the pace which will make the difference of a quality banding task or a non-so-great ane. Removing whatsoever air and pressing and evening out the agglutinative will ensure the edge banding will concord for many years.
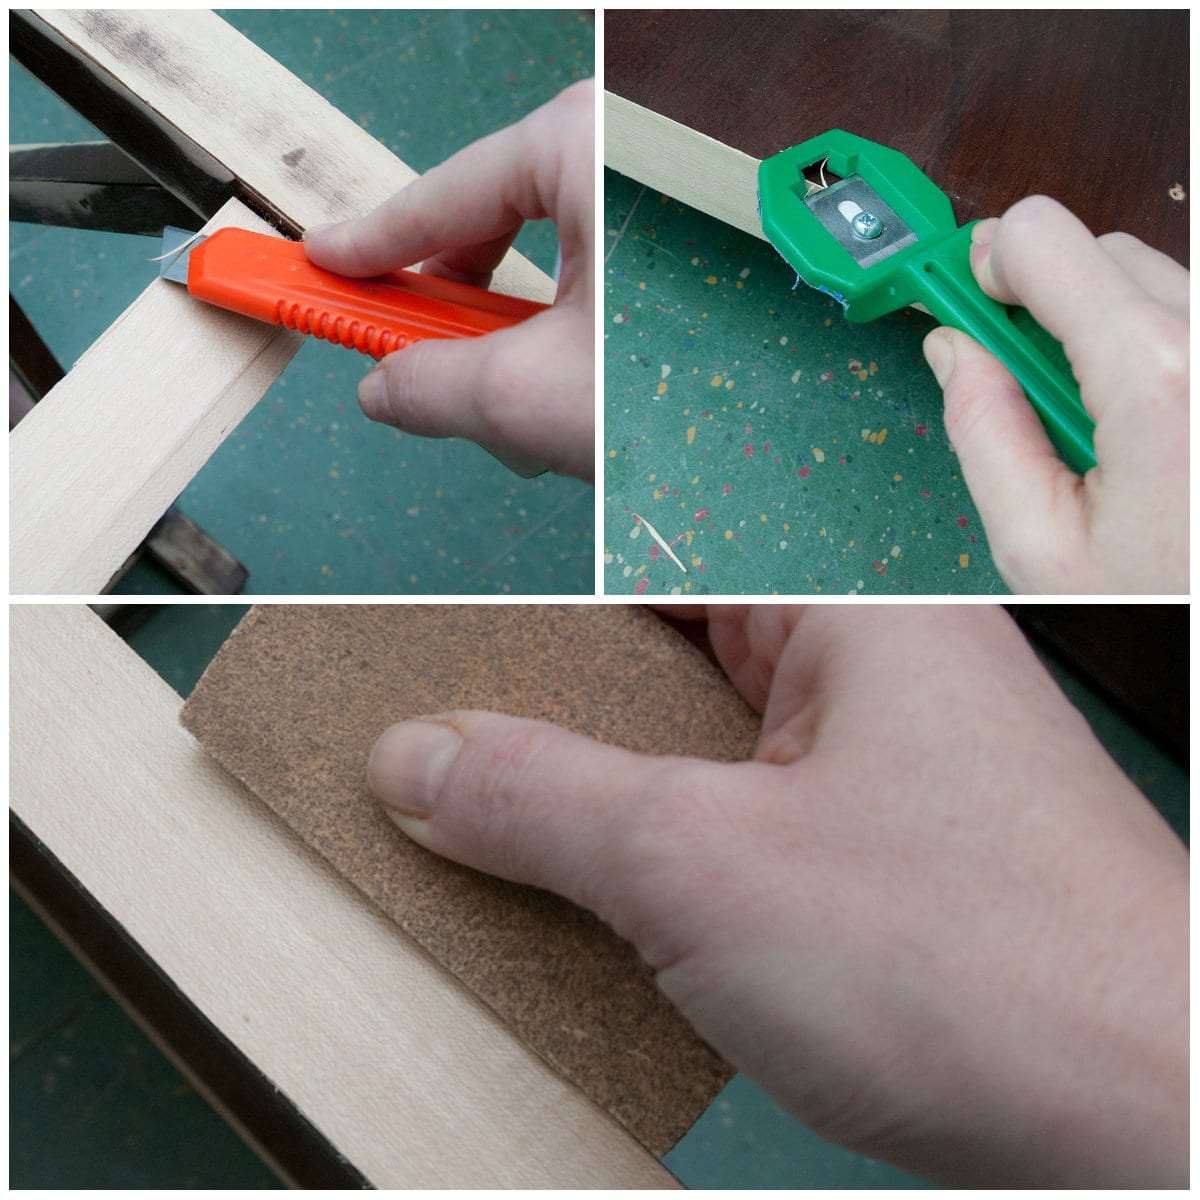
5. I cut off the excess banding with my exacto-knife and edge trimmer. I then sanded with 100 grit sandpaper to make certain all my edges were smoothen and flush. Tip – When using an exacto-knife, agree and cut at a 45° bending. When using an edge trimmer, hold steady and close to the border while apply pressure.
Ready for paint and primer!
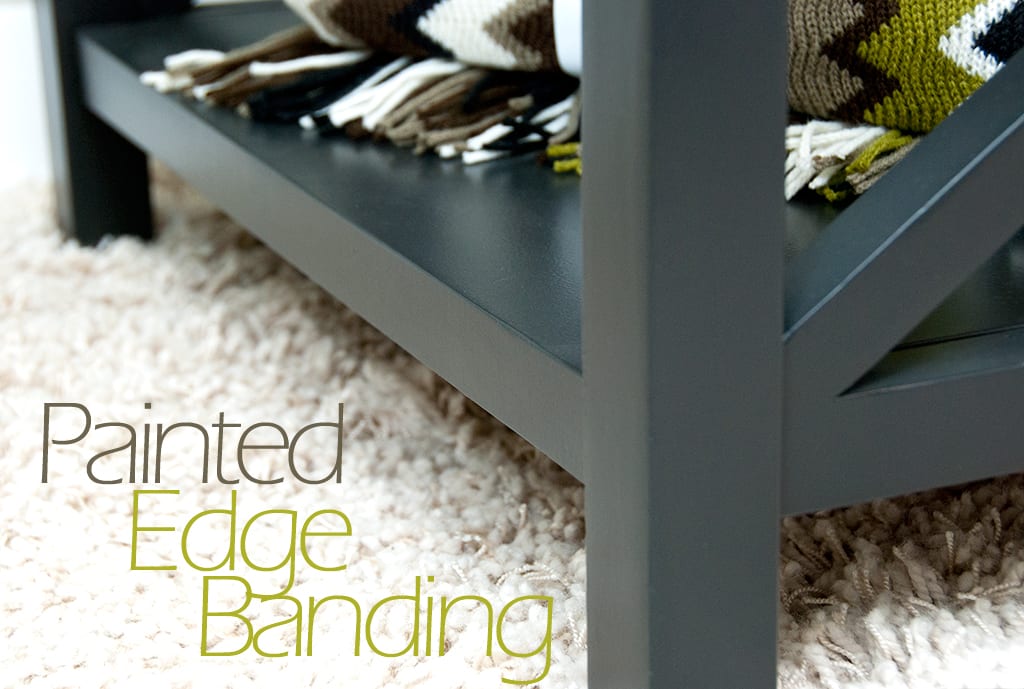

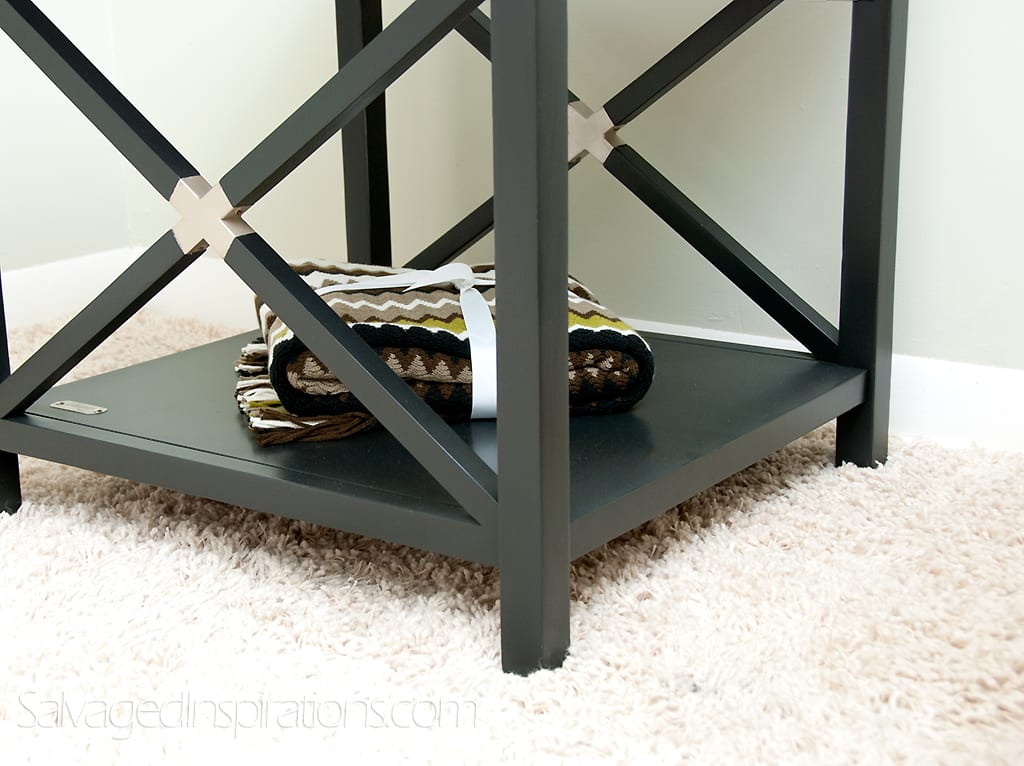
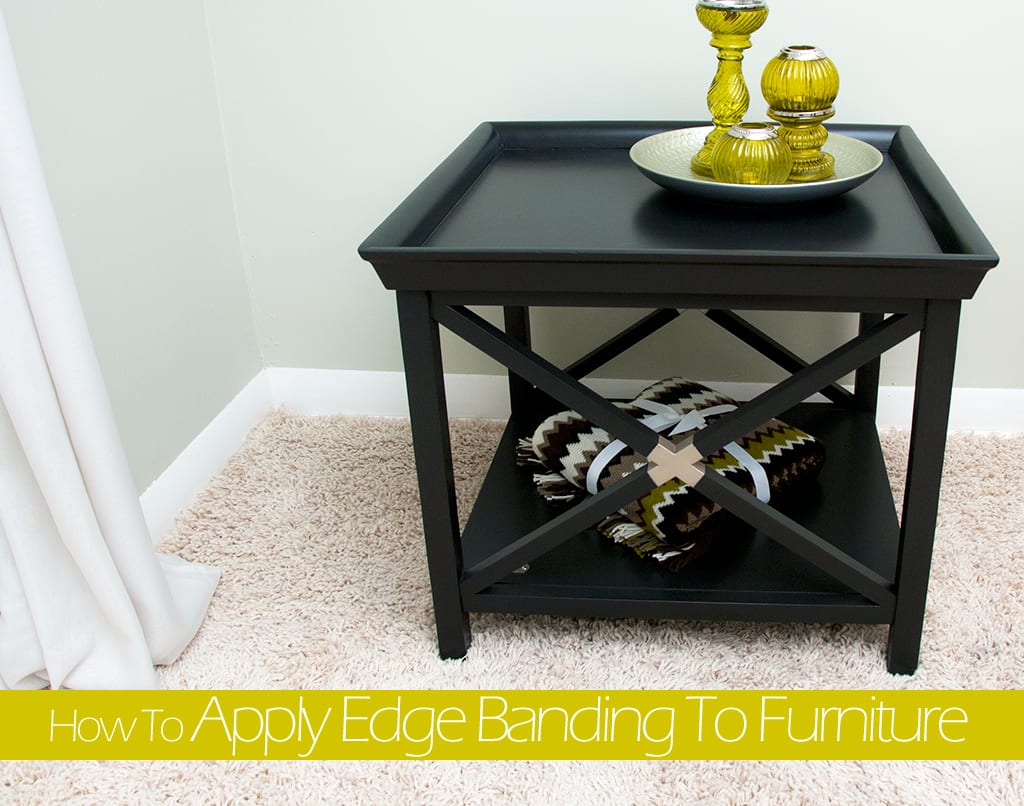

I like the new sophisticated look this table has now that all the edges are finished and painted in blackness. I really like the border banding I used. It was easy to work with and tin can be cutting to ANY width/length and can be painted OR stained ANY color! Very user-friendly to accept around for multiple furniture repairs.
Hope you're having a fabulous twenty-four hours and feel free to go out a comment or question beneath… I'd dear to hear from you lot! Oh…and what'south your thoughts on my new "staging" shag rug… yeah the "ShAG" has fabricated information technology'due south come back!
Denise

Source: https://salvagedinspirations.com/applying-edge-banding-to-furniture/
Posted by: davenportsainklicho.blogspot.com
0 Response to "How To Repair Edge Banding On Furniture"
Post a Comment