

How To Repair A Boat Rust
Trailer Dear: How to Fix It Up Right
Love your boat trailer and it volition dear you back.
Co-ordinate to the ancient Greeks, there are half dozen different ways to describe love. But I'm sure aboriginal Greek boaters had a give-and-take for "boat dearest" and a split, even more sophisticated word to depict "trailer love."
After I finished renovating my gunkhole, I noted my trailer was looking a bit shabby. There was some surface rust on the steel frame, ane of the tail lights didn't role properly, the spare tire no longer held air, the carpet padding was stiff, and the trailer tongue jack was beat out up. Information technology was time to show that trailer some love.
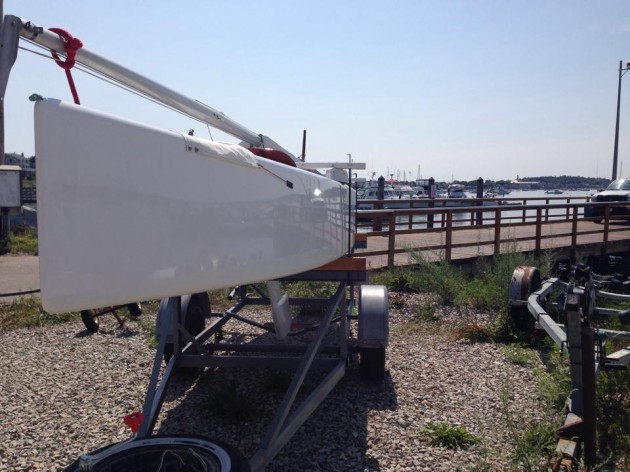
The boat (a 110 sailboat) looks practiced, but the trailer needs some love.
The beginning dominion of trailer love is to exercise no harm to your boat. Yous're going to be grinding and hammering and painting, and the terminal thing you desire to do is mar the stop of your pride and joy, so information technology'due south best to empty the trailer first. I hoisted my gunkhole with a chain fall attached to a beam in the garage, and and so rested information technology on a padded sawhorse.
The trailer was wheeled outside where I removed the fenders, wiring and lights, spare tire, and those tired carpeted trailer bunks. Everything that came off the trailer was placed in an old plastic Tupperware container and then I didn't lose any parts. All fasteners, fifty-fifty those that were sometime and ruined, went into Ziploc bags in example they were needed again.
Remove the paint
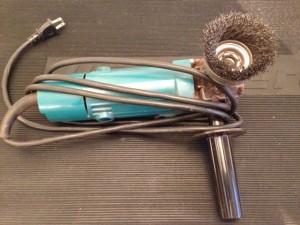
This cup brush removes paint well, but it tin can also be a manhood-threat.
If your trailer was built from steel and it has surface rust, job ane is paint removal. A friend who is an engineer recommended a loving cup brush, and it was very effective at removing paint, but be warned: it also has a nasty addiction of shedding stainless steel wires and throwing them toward your manhood at such a velocity that they become embedded in your trousers.
Jack up the trailer and put it upwardly on jack stands, or saw horses, in order to reduce the amount of bending required. And then grind, grind, and grind some more until you've removed all of the loose paint and whatever rust.
At the end of your grinding session, look over the entire frame to see if any welds are croaky and demand repair. (I found one where the tongue attached to the front of the frame.) Add any you find to your work listing.
For minor pitting or corrosion, clean information technology with acetone and then fill the space with thickened epoxy. While the epoxy is kicking, vacuum the residual of the trailer and wipe it clean.
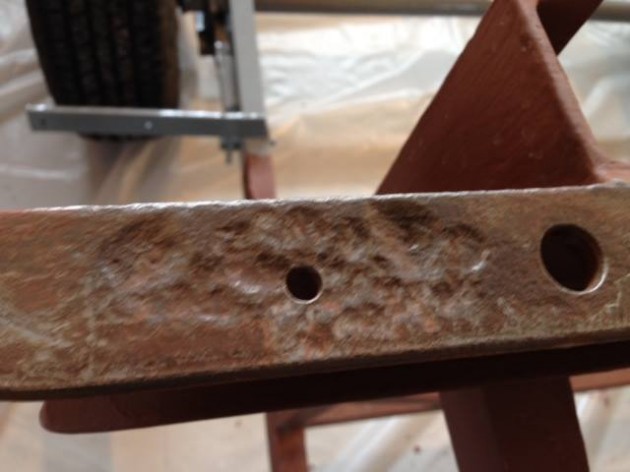
Pitting and corrosion similar this can exist filled with thickened epoxy before priming.
Prime the trailer
The adjacent pace is priming, which is best done under encompass. I rolled the trailer back into the garage, only first I covered the floor with plastic; that made clean up much easier.
Before y'all get out the primer, loosen the lug nuts on the trailer wheels, jack the trailer up on jack stands, and remove the wheels.
After yous don some old clothes, you're set up to prime the entire trailer . I used Rust-Oleum Rusty Metal Primer. You want to get the primer on every surface of the trailer, and this is a dirty chore. To get in more pleasant, I used mini paint rollers and so tipped out the paint with my favorite sash castor, which is 3" wide. You can also employ the spray cans, just you lot'll need a lot of them.
I'grand addicted of my lungs and breathing is an activity that I enjoy, then I wore a good respirator while priming and painting the trailer frame.
Later the primer dries, telephone call a local welder to repair whatsoever minor cracks.
Now for the fun role: rebuilding. You are putting a significant corporeality of labor into this trailer, so treat yourself to the best new parts. Don't reinstall anything junky or worn, since this is a job you won't want to do again in the near future.
New parts
My favorite trailer parts shop is etrailer.com. The staff is knowledgeable, the pick is extensive, they have video reviews of the products, and they reply questions. I ordered a new trailer jack and wheel for the front end of the trailer, new LED taillights and side marker lights, and a new wiring harness. The erstwhile trailer jack however had some life in it, so I renovated it and ready information technology bated to mount on the back of the trailer; that will prevent the dreaded popup when you step aft of the trailer axle.
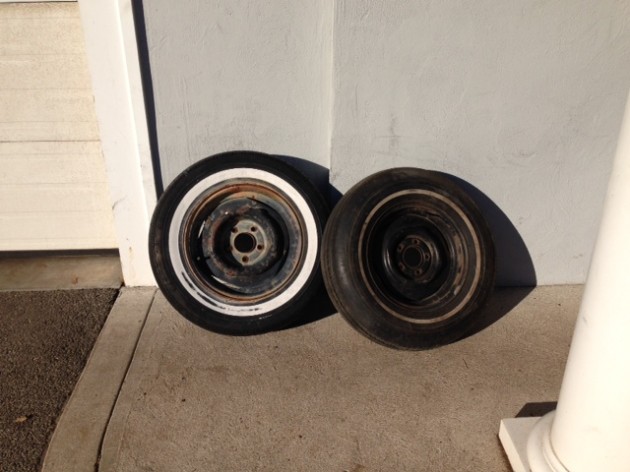
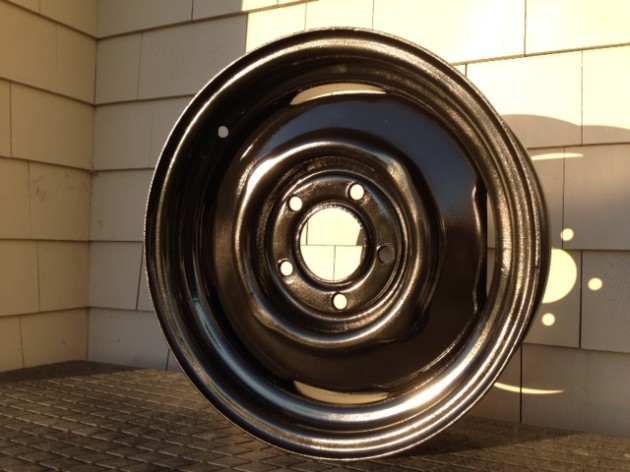
This is what the wheels looked like earlier restoration...
The trailer wheels as well had some surface rust. Later cleaning off the route grime, I went through the aforementioned prep and then primed both sides with spray paint. Ane play tricks for these: instead of masking the wheels off with tape, treat yourself to some three" 10 5" index cards and insert them in the space betwixt the wheel and the tire, overlapping each card by an inch or so to protect the tires from stray paint.
After priming, I sprayed the wheels with Rustoleum paint and they were set up to go.
...and here's a refinished wheel.
Painting the Trailer
I friend recommended I apply different colors of paint for each coat, so I'd be able to encounter if there were any spots I missed. I liked this thought, but it was hard to effigy out exactly how much of each colour to buy.
Instead I purchased a gallon of Rust-Oleum Smoke Greyness pigment. Past the time the third coat of paint was applied, I was starting to hate the chore. But when I stepped back to admire my work, the 27 year sometime trailer was looking better than new.
The galvanized trailer fenders now looked a bit tatty, so I gave them a wire brushing, a cleaning, and a couple of coats of Rust-Oleum Common cold Galvanized spray paint. The stop is not as difficult equally I would similar, but the fenders expect much improve than they did before.
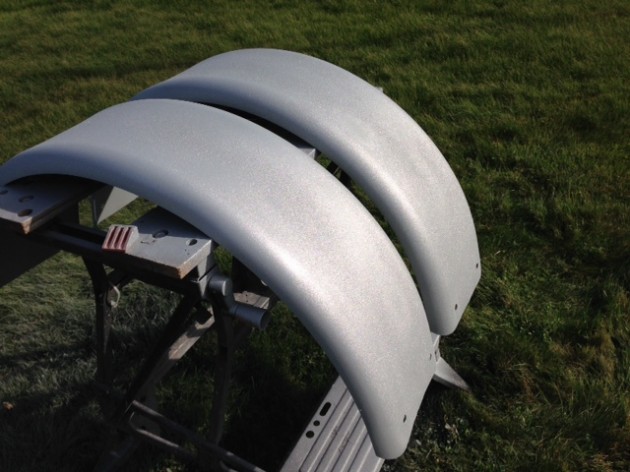
The fenders looked much meliorate later on they were painted.
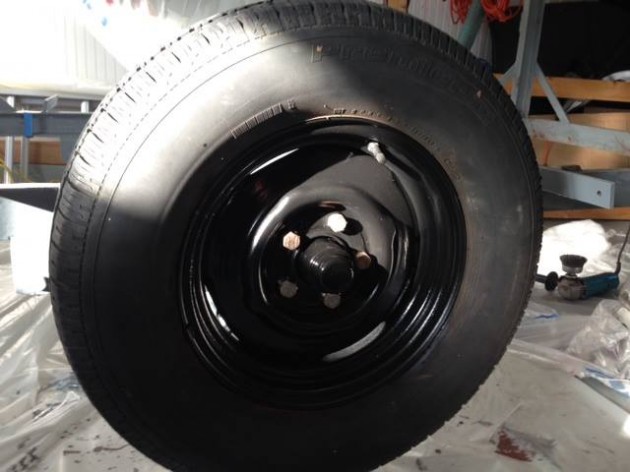
Spare Tire
The spare that was on the trailer was rusty across repair, and then I went to the junkyard. The hardest role of replacing a spare tire is figuring out what size y'all need, but again etrailer makes it easy. Another way to brand sure you don't buy the incorrect size is to make a little jig with a piece of woods and some nails sticking out of it where the lugs go, so when you get to the junkyard you tin can instantly tell if the spare will fit the trailer.
The spare I purchased for $xx had a leaky stem valve, and then I brought it to a local store to have the tire removed. Then I took the wheel home, restored it (same process as above), and brought it back to have the tire remounted and leaky valve stem replaced. It's much easier to restore the bicycle when there is no tire on it, and far more rewarding.
Here's what the spare looked like subsequently information technology was refinished.
Repack the Bearings
Side by side up for your attention are the bearings, which are some of the most important parts on the trailer. Remove your bearing caps and have a look at the grease. If they've been repacked lately, information technology volition feel silky smooth and scent fresh and you are in good shape. If it looks like a hardened, lumpy mess, it'south time to repack the bearings. Here's a good video on YouTube to prove you how to repack trailer bearings.
Trailer Bunks
The former bunks were too narrow to exist a cushy ride for the boat.
Now that the trailer was painted, I started to imagine that my gunkhole's bottom was my own. Given the selection, I would rather balance my buttocks upon a wide, comfy platform, and I've always admired the wide, cushy bunks covered with airtight cell cream that high end yachts perch their entitled bottoms upon.
My trailer bunks were cipher more than 2 ten 6's cut to match the shape of the bottom of the boat. To replace them, I cutting ¼" plywood to match the length and width of the bunks, rounded the corners with a jig saw, and drilled some holes for countersunk flathead screws.
Adjacent I taped off all the finished work with painter's plastic, and then mixed up some epoxy. I coated the two original bunks with directly epoxy, then mixed up a thickened batch of epoxy and applied it to where the bunks would sit on the frame. The screws served equally clamps. On top of the new, wider bunks, I wet out some six" broad fiberglass cloth I had lying effectually the store.
Eight hours later, subsequently the epoxy on the glass cloth was firm but still easy to handle, I trimmed the edges of the cloth flush with the bunks with a sharp chisel.
The next solar day, I done the bunks with warm h2o and a Scotch-Brite pad to remove the amine blush from the epoxy. And so I sanded out the crude spots, cleaned, primed, and painted. At present the bunks matched the frame, but they withal needed padding.
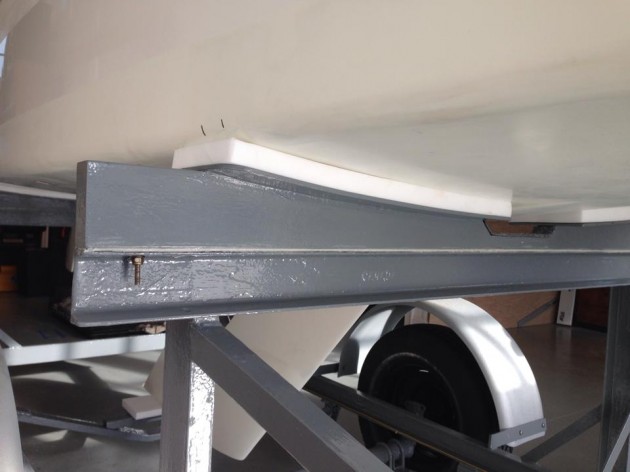
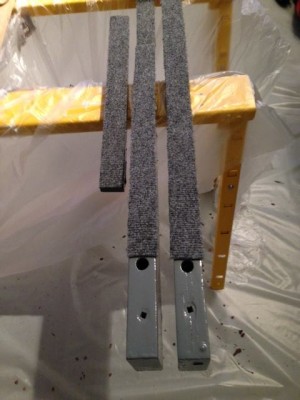
The new wider bunks with closed prison cell foam give this boat's bottom the royal treatment.
Closed cell foam fabricated those overnice, broad bunks into a La-Z-Male child for my gunkhole. A friend had some leftover foam from his latest project, so I cutting what I needed off his sheet, 2 strips 6" wide and four feet long. I made the cut at his house with a flat edge and a utility knife, so it was a bit rough. Back in my garage , I used a fine-molar table saw blade to clean it upward.
To attach the foam to the bunks, I placed a strip of carpet tape downwardly the eye, and then applied a bead of 3M 5200 around the edges. Once the cream was on top of the bunks, I used weights and clamps to hold it in identify.
With the cream bunks looking cushy enough for the Queen'due south royal backside, it was time to install the lights and wires. Here's a tip before you kickoff: Those metal clips that came with the lighting kit will mar the surface of your paint, kink your wires, and cutting your hands. The platonic place to put those clips is in the trash can. Use wire ties instead.

Utilise wire ties to secure wires, not the metal clips that came with the wiring harness.
Wiring Harness
Later on sorting the harness so the wires ran exactly directly, I stripped the wires back enough so there was about a one-half inch where they met with the wires from the lights. Before soldering, I slid shrink wrap wire covers onto ane side. Once the joint cooled, I slid the shrink tube over the joint and shrunk it with a oestrus gun to make the joint more than waterproof.
To work properly, LED lights must be grounded, which ways the ground wire is in articulate contact with metallic. After applying one coat of primer and iii coats of paint, I had to expose some of the metal for the ground to do its work.
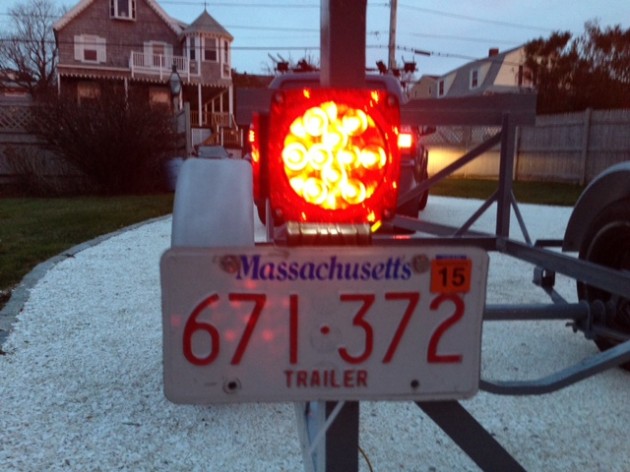
The new LED lights are much brighter than the old ones.
In one case that was washed, I bolted the new trailer jack on the front end of the trailer and then took my advantage: a test bulldoze with the empty trailer to make sure the lights worked. The new LED lights were much brighter than the erstwhile bulbs.
Final Touches
The trailer was looking good, but while I was taking information technology apart and wire brushing information technology, I had time to reflect on ane of the not bad mysteries of life: why did the trailer rust in this one detail spot? Or this one? Chances are, it was because water could collect there. So when I reassembled the trailer, I laid down a generous bead of silicone caulk anywhere h2o could collect. I as well bedded where the lights were mounted to the trailer, where the fenders met the trailer, and where the wooden bunks met the trailer.
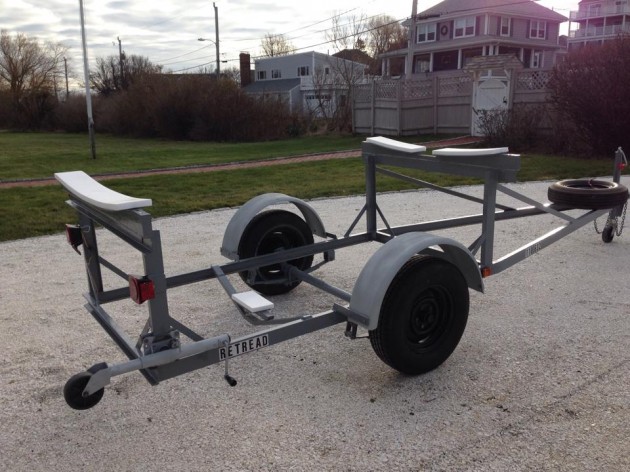
The trailer is finished and ready for the gunkhole to be loaded again.
The last finishing touch was to put my boat name on the trailer so there would be no ambiguity as to who owned this renovated masterpiece. I used reflective mailbox letters.
Making your trailer cute is a lot of work, only knowing that you and your beautiful boat will get downwardly the route safely is a practiced feeling indeed. And subsequently all of this honey you have shown your trailer, at that place'south no doubt your trailer volition honey you back for years to come.
WhenJoeBerkeley is not working on his trailer, he is a freelance writer. His work is at joeberkeley.com.
Editor'southward Note: In one case y'all're finished working on your trailer, information technology's time to tow information technology to the water. We've put together a series of towing videos to help get you on the road safely in a multifariousness of situations; here's a list of what's published so far.
- Safety Tips for Trailering a Gunkhole
- Towing in Mountainous Terrain
- How to Tow Hunting Boats


Source: https://www.boats.com/how-to/trailer-love-how-to-fix-it-up-right/
Posted by: davenportsainklicho.blogspot.com
0 Response to "How To Repair A Boat Rust"
Post a Comment